
Wednesday 10 December 2014
Tuesday 9 December 2014
Extending the Bee Factory
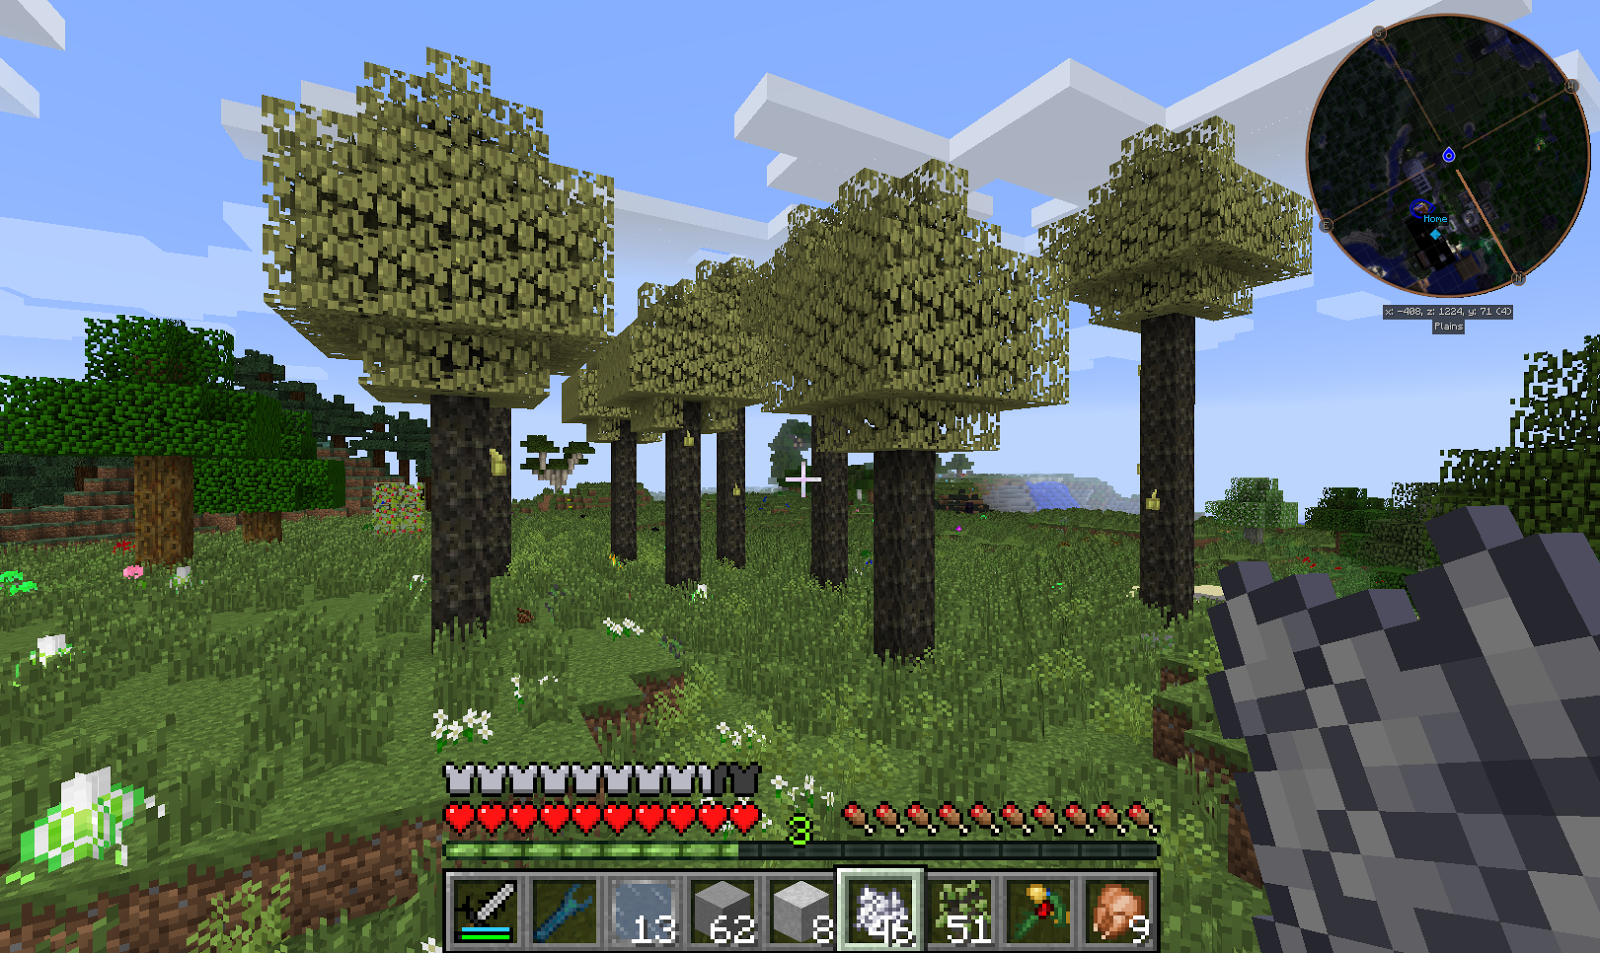
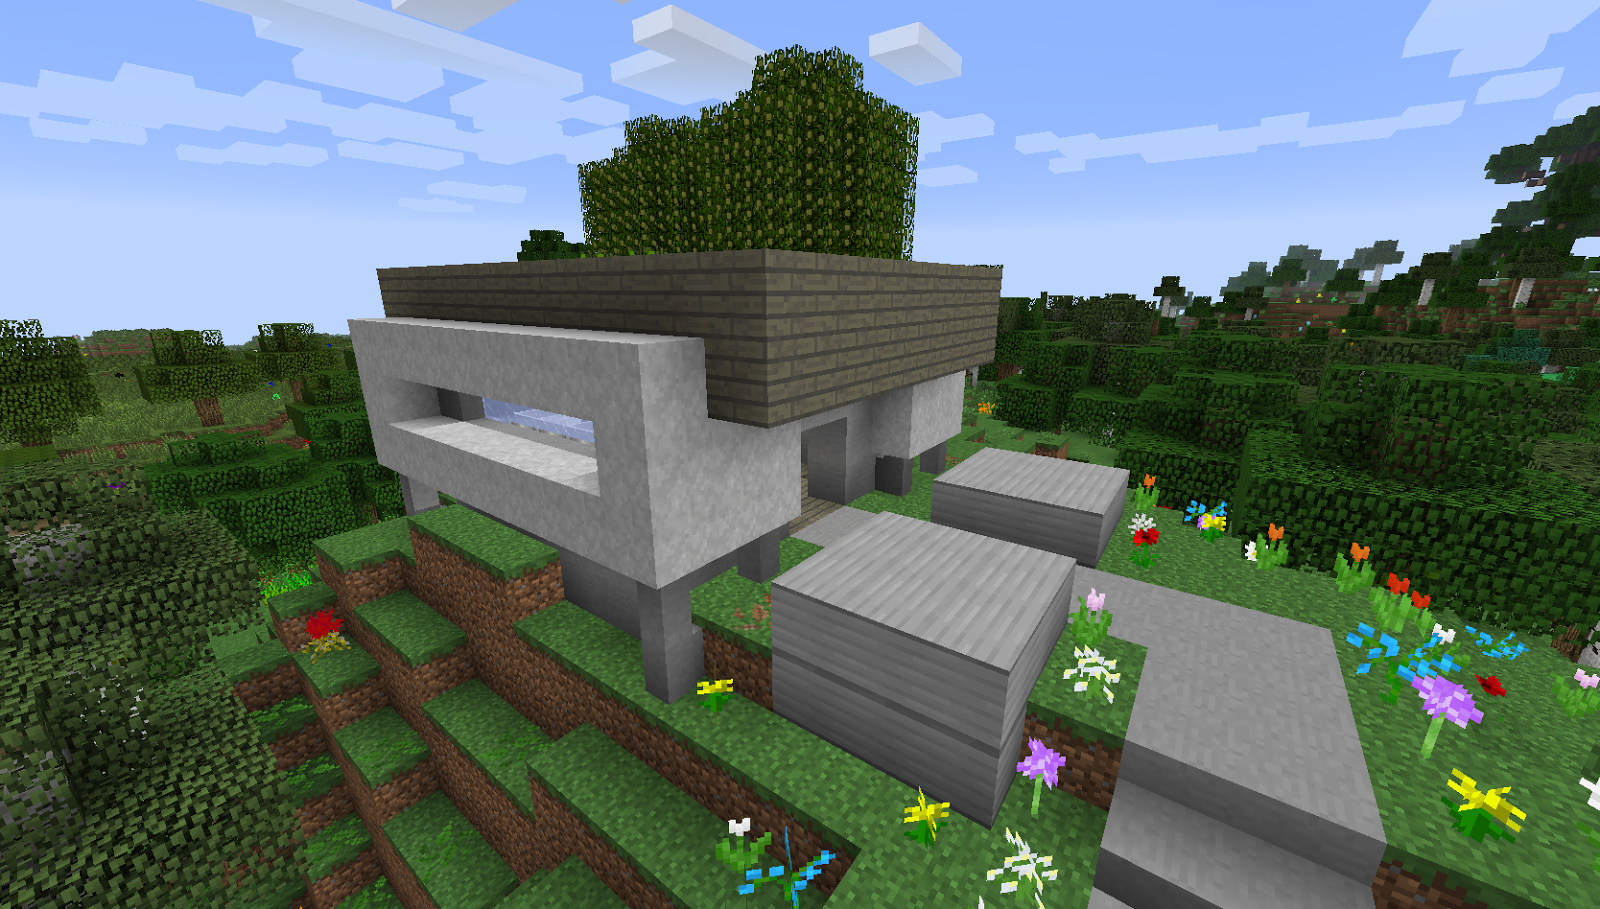
Extending the factory today. Materials are concrete, marble and teak wood. I was quite pleased I had this drop when tree breeding; tall teaks!


 |
| I spy with my little eye, a little sneak who crept in on shot! |
Monday 8 December 2014
Bee Genetics: Modifying Bees to have Desirable Traits
Since the change to Binnie's Mods, breeding bees to have desirable traits is somewhat different to previous versions of Extra Bees. The genetic mod may seem a bit long winded, but in my opinion, is a lot easier to use once you have the systems set up.
In my last blog post, I showed you all how I set up my system, but I didn't really explain how I modify my bees once I've got those little larvae all grown up. I fully intend to do a video or two accompany these posts, I'm just searching around for a nice free recorder that I like the look of. (Coincidently, if anyone has any to recommend, please let me know in the comments.)
Anyways, back on task to our bees. In my bee factory, I have an area where I keep alvearies for the sole purpose of production. Before bees are allowed in this area, they need to have the following properties-


The double pipe method means multiple sets of bees can be "programmed" and switched out as desired. I don't intend to have every tinted bee running all the time, just be able to produce the desired dye on demand.

The view of the factory floor.


In my last blog post, I showed you all how I set up my system, but I didn't really explain how I modify my bees once I've got those little larvae all grown up. I fully intend to do a video or two accompany these posts, I'm just searching around for a nice free recorder that I like the look of. (Coincidently, if anyone has any to recommend, please let me know in the comments.)
Anyways, back on task to our bees. In my bee factory, I have an area where I keep alvearies for the sole purpose of production. Before bees are allowed in this area, they need to have the following properties-
- Low fertility of 1 x drone; so I don't have the hassle of filtering off excess drones
- Nocturnal
- Rain tolerant
- Rocks pollination; they will happily use the concrete walls of my bee tower
- Cave dwelling; they'll tolerate having their alveary's covered
- As slow a pollination speed as I have available
- As fast a production speed as I have available
- The longest lifespan I have available; not a huge deal when they're automated, but something I like to do.
So, as I've shown you before, here is my hatchery alveary:
The first six of my desired traits can be found within a basic rocky bee. To obtain the other two desired traits, the following process is applied:
- Place rocky bees in alveary with hatcheries.
- Obtain rocky larvae.
- Inoculate at least 7 larvae with desired traits.
- Hatch larvae in incubator.
- Take original rocky princess, and pair with the 7* new drones with the desired traits.
- Repeat cycle of mating princess with inoculated drone until the princess obtains all the desired traits.
- Squash all mixed trait larvae in the genepool, so all hatchery blocks are now clean and empty.
- Replace the now "converted" princess in the alveary
- New larvae now act as a base larvae for all other species.
*Through my experimentation, no more than 7 drones have been required to convert a princess fully to the new traits.
My base bees have the desired traits, so as result, as do the larvae. My best production speed is "fast" and best lifespan is "long."
When it is time to convert a species so that it is ready for the factory, I first obtain the species serum, as explained in yesterdays post. Then, my base larvae are inoculated with the species serum.
I have managed to breed each of the tinted bees, and now I am going through each species so that it can be put to work in the factory. I don't plan on using the bleached bee much, as I have plenty of bonemeal that can be used as dye, but the completest in me wants to make sure I have the full set. Otherwise, this wall wouldn't look half as cool:
I digress. Once all the base larvae have been converted to the correct species, they are then hatched in the incubator.
The new drones are then put in my breeding alveary, which is situated outside.
All of the mixed-trait offspring have been processed into DNA.
This princess has gone through 6 cycles, and now possesses the following traits:
The bees are now ready for putting into the factory to be automated.
The double pipe method means multiple sets of bees can be "programmed" and switched out as desired. I don't intend to have every tinted bee running all the time, just be able to produce the desired dye on demand.
The grey and purple block on the floor is a vacuum chest from enderIO. Highly recommended for catching those bees that pop out of buildcraft pipes every now and then.
I hope that you found this tutorial useful, I had such nice feedback from my last post, I hope this one is as well received! If you have any questions, or would like to see other bee tutorials, let me know in the comments and I'll gladly see what I can do!
Saturday 6 December 2014
Binnie's Mods- Bees, Trees and Genetics.
This blog post assumes that you have some basic knowledge of bee and tree breeding and focuses on the latest version of Binnie's Genetics.
I'll also point out, that although this post goes through what I did in chronological order, the screen shots are not all from the time it happened. ;)
I'll also point out, that although this post goes through what I did in chronological order, the screen shots are not all from the time it happened. ;)
I have always loved the forestry mod, and when the latest Direwolf 20 pack came out, I was rather excited at the prospect of playing with bees with none of those pesky magic bees ruining the hive generation as it had done on other packs I played.
So, I started as I always did. Find some apiaries from a village, and start generating some combs from some bog standard meadows bees. I also started on tree breeding, so I could get a head start on getting some nutty trees for seed oil.
After a few stacks of combs and drones had been gathered, I had set up a rudimentary base and sorted out a basic reactor for our power needs. I then started thinking as always have done, get a railcraft tank built and start squashing some bees in the genepool to start gathering a healthy supply of dna.
This was the moment, when I realised that Binnie had updated the genetics component of the modpack, and that EVERYTHING WAS DIFFERENT.
So I did what everyone does in this situation. Asked the all knowing powers of Google what I needed to do.
Nothing.
Checked youtube, had Direwolf covered genetics in his let's play series?
Nope.
All I could find was the Mod Spotlight vid linked on the Binnie's Mods wiki, useful, but didn't really give me enough information. So, I set about it blind.
Placing the genepool down I soon discovered that the pesky thing now required ethanol to function. A few squeezers and stills later, and I had set up an ethanol processing hut.

 |
| The tell-tale signs of bees.... flowers galore. |
By this point, I had managed to breed up some hazelnut and lemon trees, so in they both went to the adjacent forestry farm. Now the ethanol supply was sorted, I turned my attention back to the genepool. Bee squishing time! But wait... it still wasn't working. It required enzymes to work.
 |
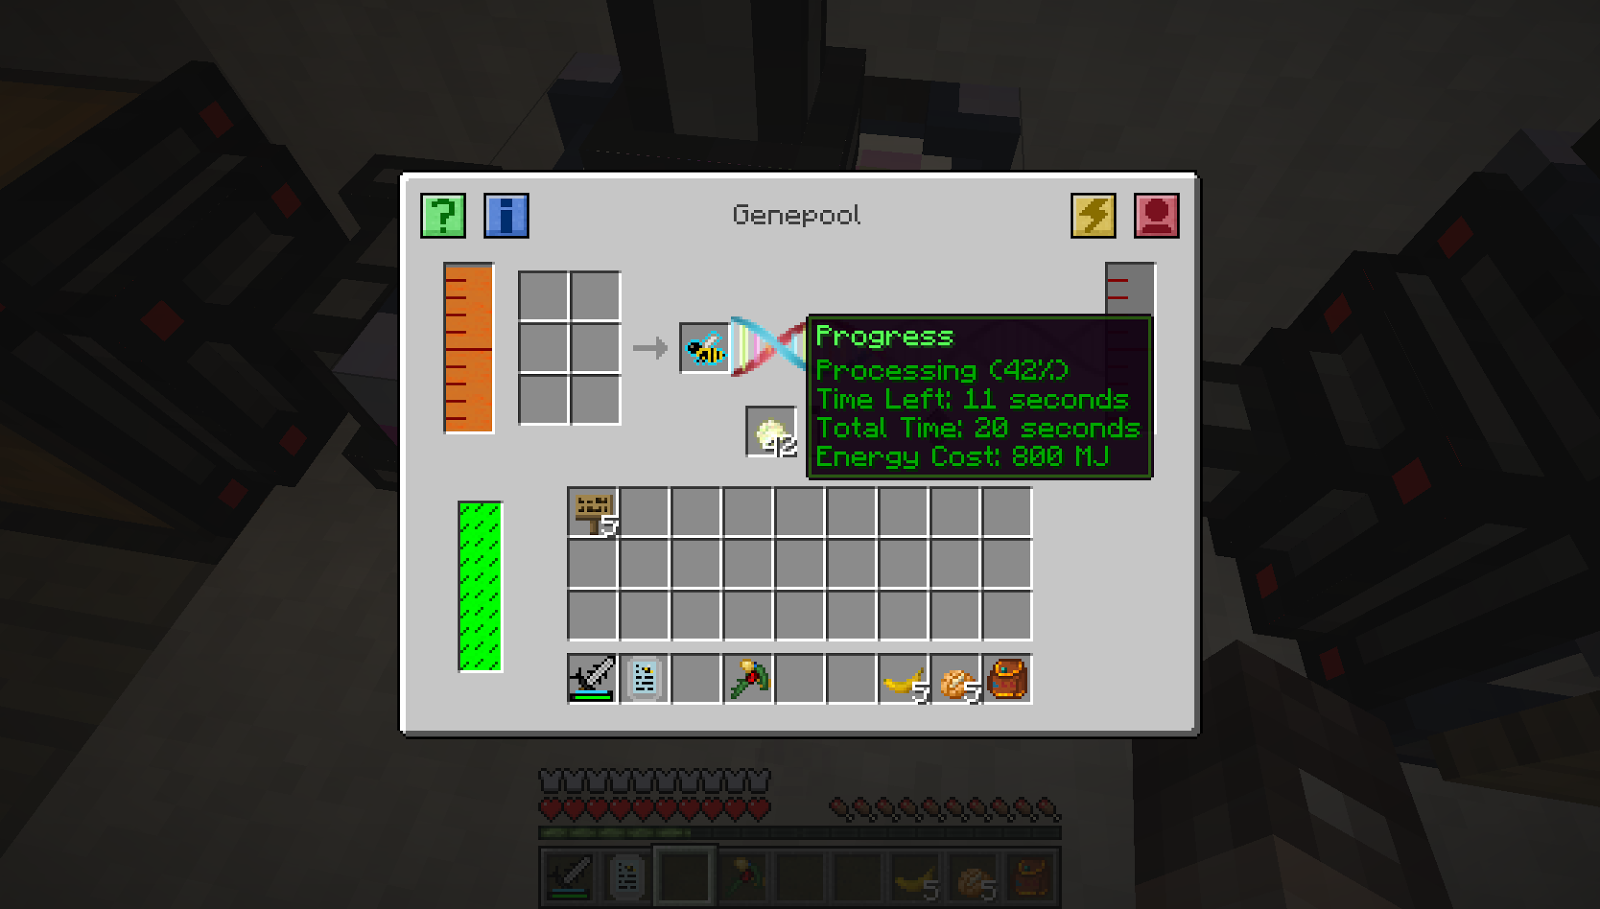
| Genepool GUI |
Binnie's wiki fortunately had some answers. Making enzymes was a 3 step process, and the easiest way I saw to do it, was to craft three incubators.
 |
| A railcraft tank is installed under the floor to collect dna. |
Starting from the left; Growth medium (sugar + bonemeal) is mixed with water. (Aqueous accumulator to supply the water underneath the floor.)The resulting liquid is then piped into the next machine where wheat is added. Once processed there, it travels into the third machine where sugar is added and enzymes are produced. The bee squashing could finally commence!
Satisfied that there was now somewhere for me to dispose of any cross-bred drones that I didn't need, I started breeding up industrial and imperial bees. This time, I was careful to spend time doing what I call "standardising the species" i.e ensuring that all traits match so that the resultant offspring stack nicely together. I was very grateful for this when I discovered there was no more apiarist pipe! But it was okay, I started up some rudimentary automation by using diamond pipe.

I was getting close to getting enough supplies for my first alveary, so it was time to start extracting some traits using the isolator. Discovering that the isolator also required ethanol and enzymes, I plonked it next to the other machines, and added an analyser to the chain.
 |
| The hopper is used to keep the supply of DNA dye supplied. Trash can installed to bin the copious amounts of unneeded DNA sequences. Tesseract supplies the ethanol to the genepool and the isolator. |
Blank DNA sequences were inserted into the isolator and they in turn piped into the analyser, where I fervently waited for the species traits to start showing up. This was then put into the sequencer so that it would be written to the Gene Bank.
 |
| Serum vials are obtained by clicking empty bottles on the trait displayed in the Gene Bank. |
With the desired DNA sequence now in my Gene Bank, I set about setting up the next machine in the process, the polymeriser.
The polymeriser requires polymerising bacteria and dna to process the serum vials. I set up an additional 3 incubators to create the juice.
 |
| Same process as before, but this time, bonemeal is added in the final stage. |
 |
| Polymeriser GUI |
Success! I now had the species serum I needed to inoculate good old trusty rocky bees (my base bee of choice, because of it's many desirable traits such as being able to live indoors and happiness to buzz about in the rain.) I had a nice healthy stack of rocky bees from the quarry.
The innoculator, needed for injecting the serum, also required some new goo, namely Bacteria Vector. A third set of machines was set up to supply the goo.
 |
| Same process as before, but at the third stage, blaze powder is added. I was running out of room at this point, I hadn't anticipated that there would be so many machines. Admittedly, I could have streamlined this with the use of some pipes and tanks for each liquid produced, but this seemed to be the easiest and quickest way to get the process going. |
So, I had my rocky bees ready to inoculated. But they wouldn't go into the machine... what the deuce?! Again, google came to my aid and I found that larvae was needed. How the heck do I go about that?!
Looking in NEI, I found a block that seemed to fit the bill. A hatchery. That's new, I thought to myself. So instead of a nice new alveary outside... I placed one down in the lab, complete with 5 hatcheries.
 |
| This is one of those photos where you spy something I haven't talked about yet... just ignore that machine in the top right for a moment. ;) |
With larvae obtained, it was time to inoculate them.
 |
| At the moment, I am working on all the different dye bees. |
 |
| Yeah... I felt a bit stupid.... |
So.... another incubator was installed.
 |
| I'm not happy with where this is at the moment. I intend to swap it with the apiary that is situated beneath the inoculator, as seen in previous pictures. |
I hope that my ramblings of the process I took will be of use to someone, and that they won't have to stumble around like I did! I am thinking about making a youtube video explaining the process, if this is something you would like to see, please let me know in the comments... it'll encourage me. ;)
Subscribe to:
Posts (Atom)